Decorating your home doesn’t have to be expensive or complicated. With a little creativity and some basic materials, you can give your space a fresh new look. Below are 10 simple DIY home decoration tips, each explained in detail with a list of materials needed.
1. Create a Gallery Wall
A gallery wall is a fantastic way to display your favorite memories, artwork, and prints in a visually appealing arrangement. Start by selecting a mix of frame sizes and styles—wooden, metallic, or colored frames can add variety. Lay them out on the floor first to experiment with different 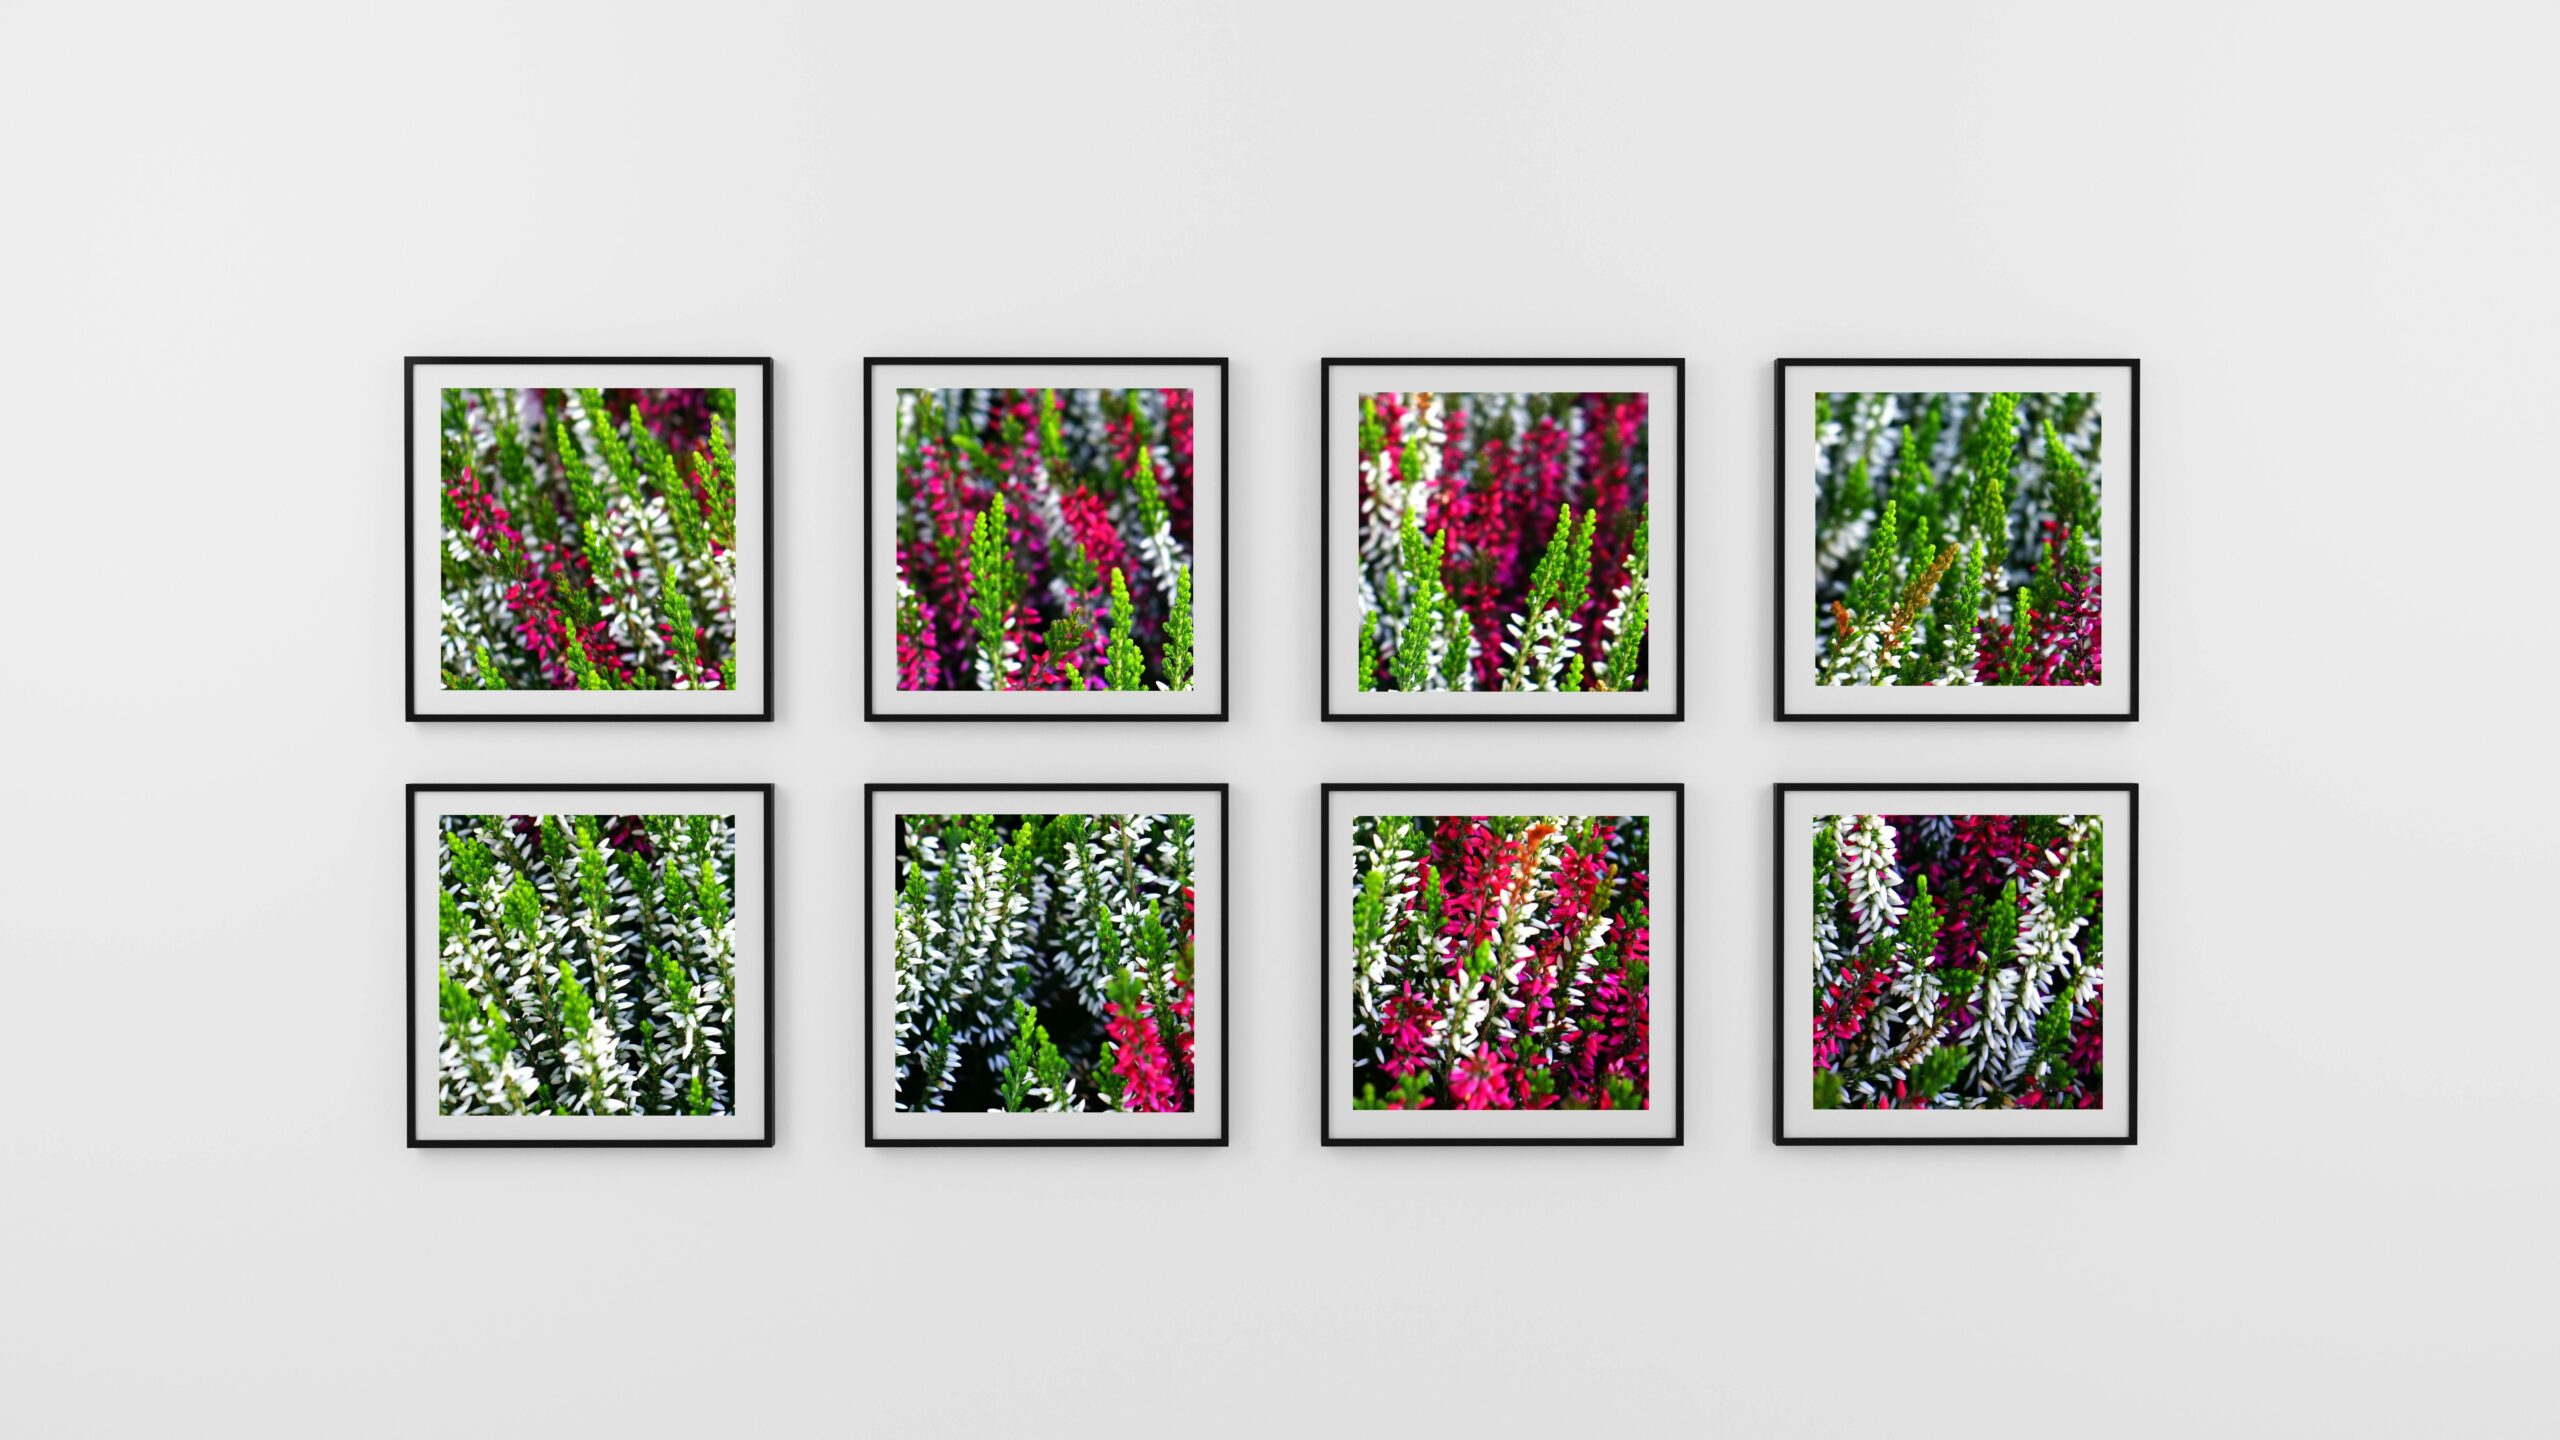 arrangements before committing to nail placements.
To ensure symmetry, measure the wall space and mark where each frame will hang. Use a level to keep everything straight. For a cohesive look, stick to a color theme (black-and-white photos, vintage prints, or abstract art). You can also add small shelves or decorative objects like tiny plants or framed quotes to break the monotony.
Materials Needed:
-
Frames (varied sizes)
-
Printed photos, artwork, or posters
-
Nails, hooks, or adhesive strips
-
Hammer (if using nails)
-
Measuring tape & pencil
-
Level
2. Paint an Accent Wall
An accent wall instantly adds depth and character to a room without overwhelming the space. Choose a wall that naturally draws attention, such as the one behind your bed or sofa. Bold colors like navy blue, emerald green, or terracotta create a dramatic effect, while soft pastels keep it  subtle.
Before painting, clean the wall and apply painter’s tape to protect edges. Use a primer if the wall has dark colors or stains. A roller covers large areas quickly, while a brush helps with corners. For extra texture, try techniques like sponge painting or geometric patterns using stencils.
Materials Needed:
-
Paint (acrylic or latex)
-
Painter’s tape
-
Paint roller & tray
-
Angled brush (for edges)
-
Drop cloth (to protect floors)
-
Primer (if needed)
3. DIY Floating Shelves
Floating shelves are both functional and stylish, offering storage without bulky furniture. You can make them from reclaimed wood, plywood, or pre-cut boards. Sand the edges for a smooth finish, then stain or paint them to match your decor.
Mark the wall where you want the shelves, ensuring they’re level. Use sturdy brackets or hidden shelf supports for a seamless look. Arrange books, small plants, or decorative items on them for a personalized touch.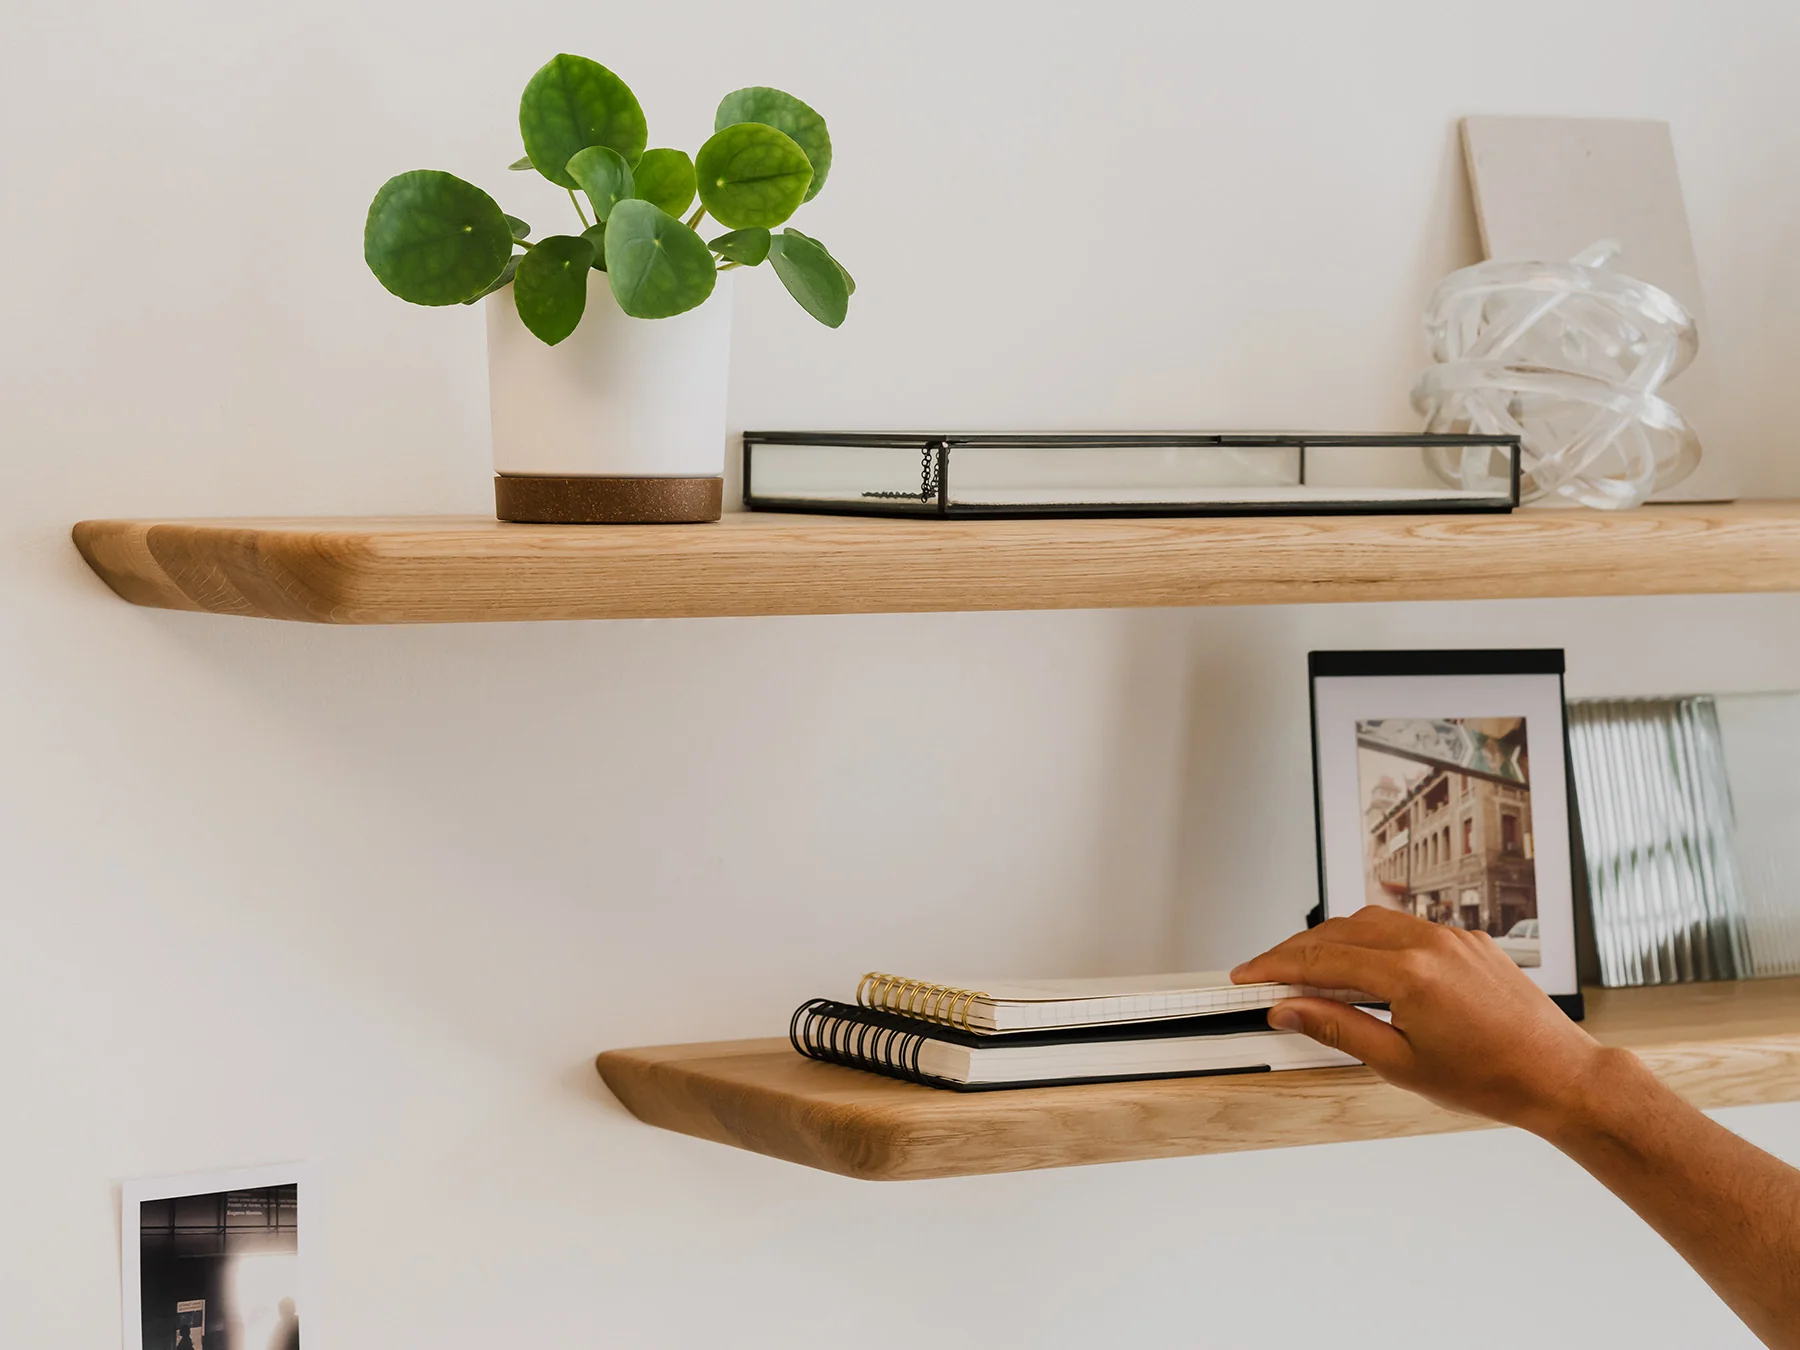
Materials Needed:
-
Wooden planks (cut to desired size)
-
Brackets or floating shelf hardware
-
Screws & wall anchors
-
Drill
-
Level
-
Sandpaper
-
Paint or wood stain
4. Upgrade Old Furniture with Paint
Instead of buying new furniture, revive old pieces with paint. Sand the surface lightly to help the paint adhere, then apply a primer. Chalk paint works well for a vintage look, while glossy paint gives a modern finish.
For a distressed effect, sand edges lightly after painting. Add new knobs or handles for extra style. This works great for dressers, coffee tables, and chairs.
Materials Needed:
-
Sandpaper (medium & fine grit)
-
Primer
-
Paint (chalk, latex, or spray paint)
-
Paintbrushes or foam rollers
-
Drop cloth
-
New hardware (optional)
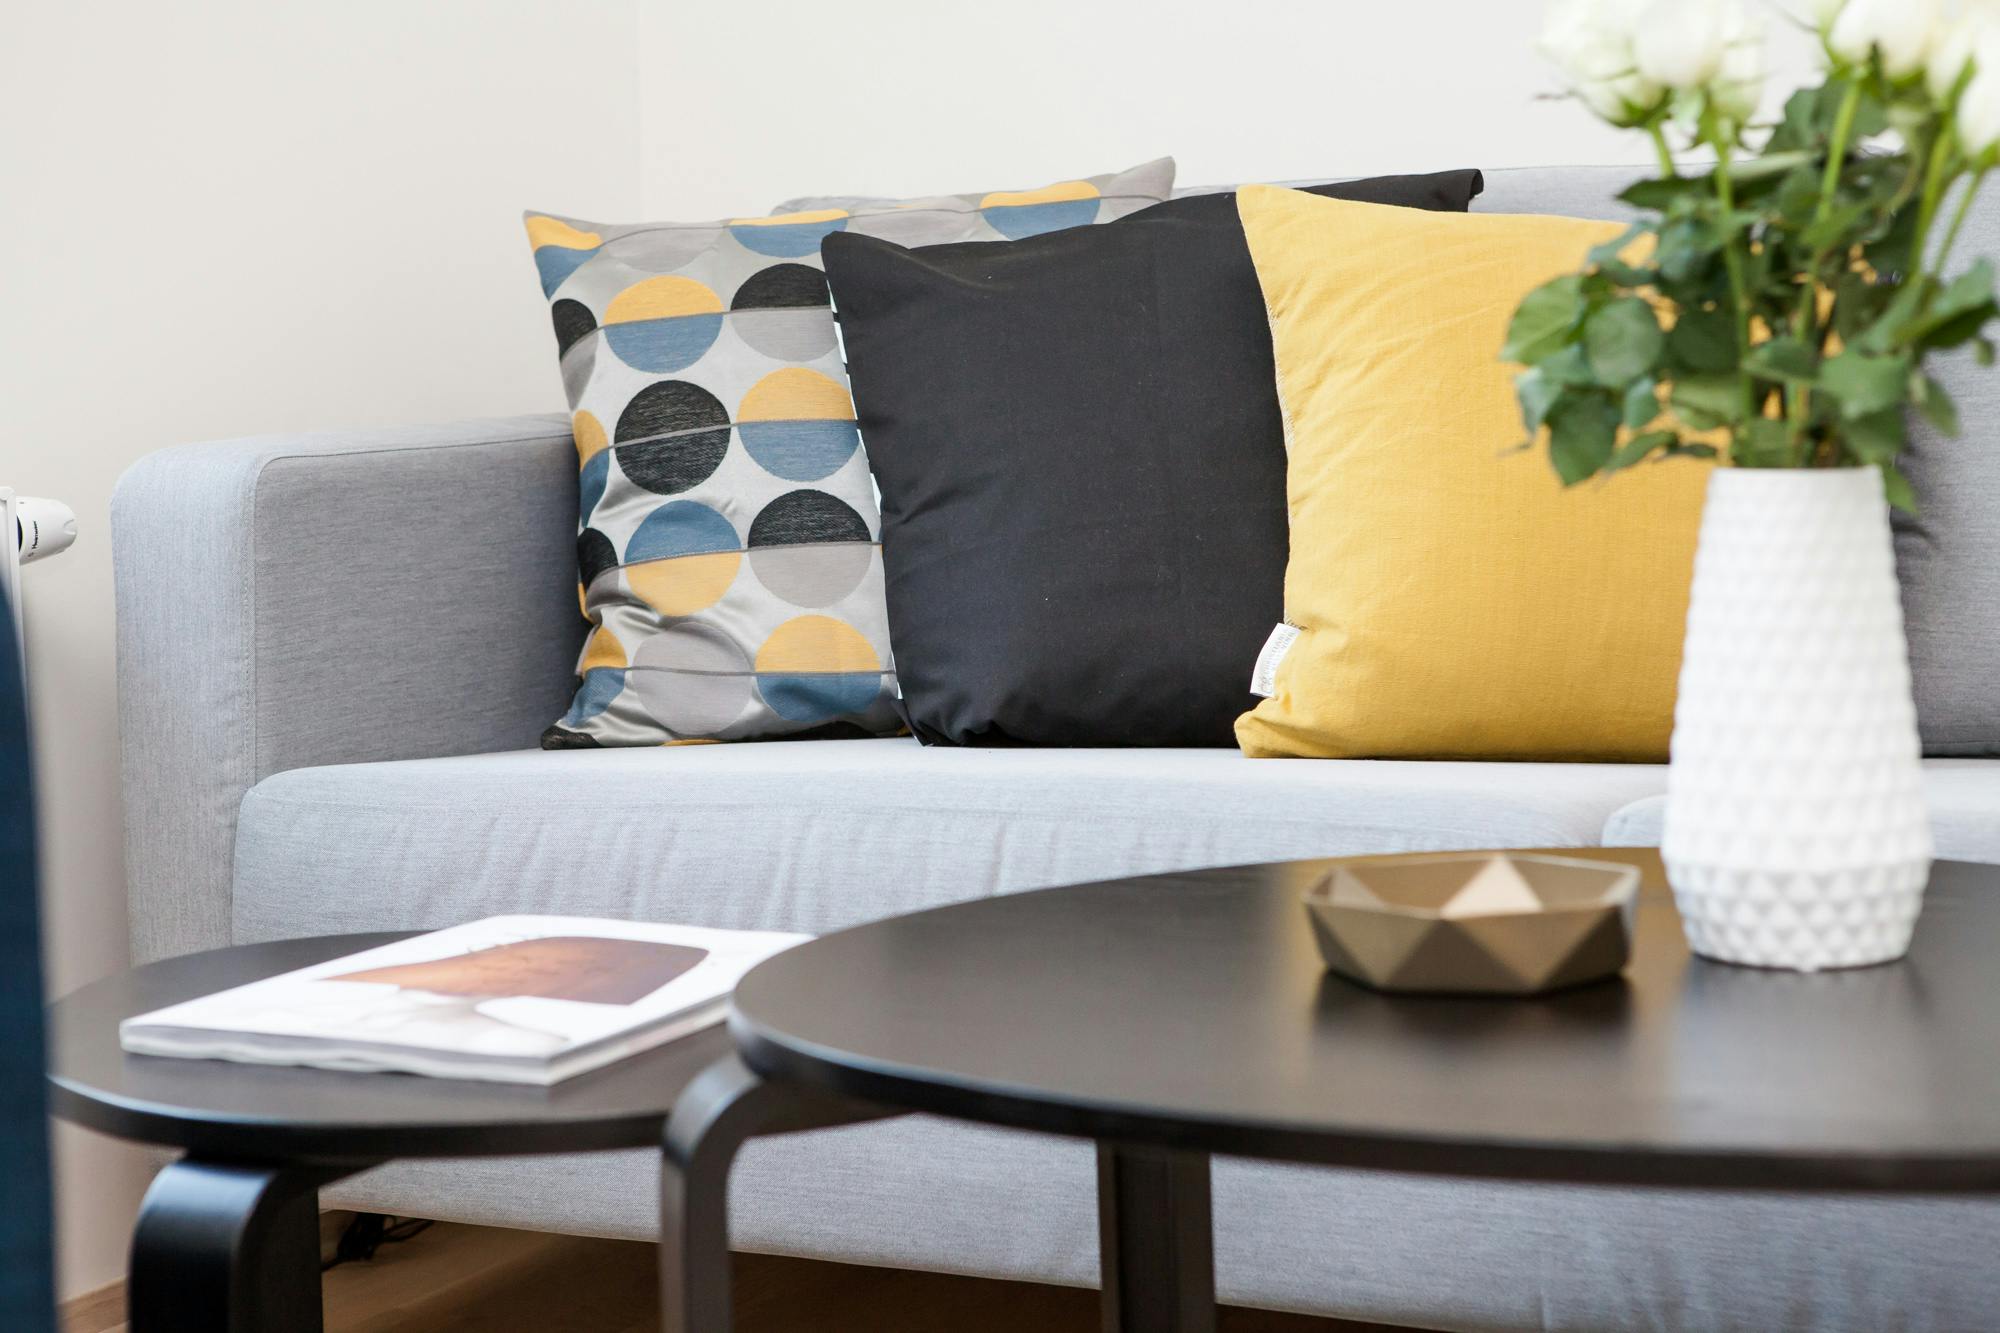
5. Make Your Own Throw Pillows
Custom throw pillows add color and comfort to your couch or bed. Choose fabric that complements your room—cotton, linen, or velvet work well. Cut two equal-sized pieces, sew three sides, insert the pillow, then stitch the fourth side closed.
For a no-sew option, use fabric glue or iron-on hem tape. Add tassels, embroidery, or buttons for extra flair.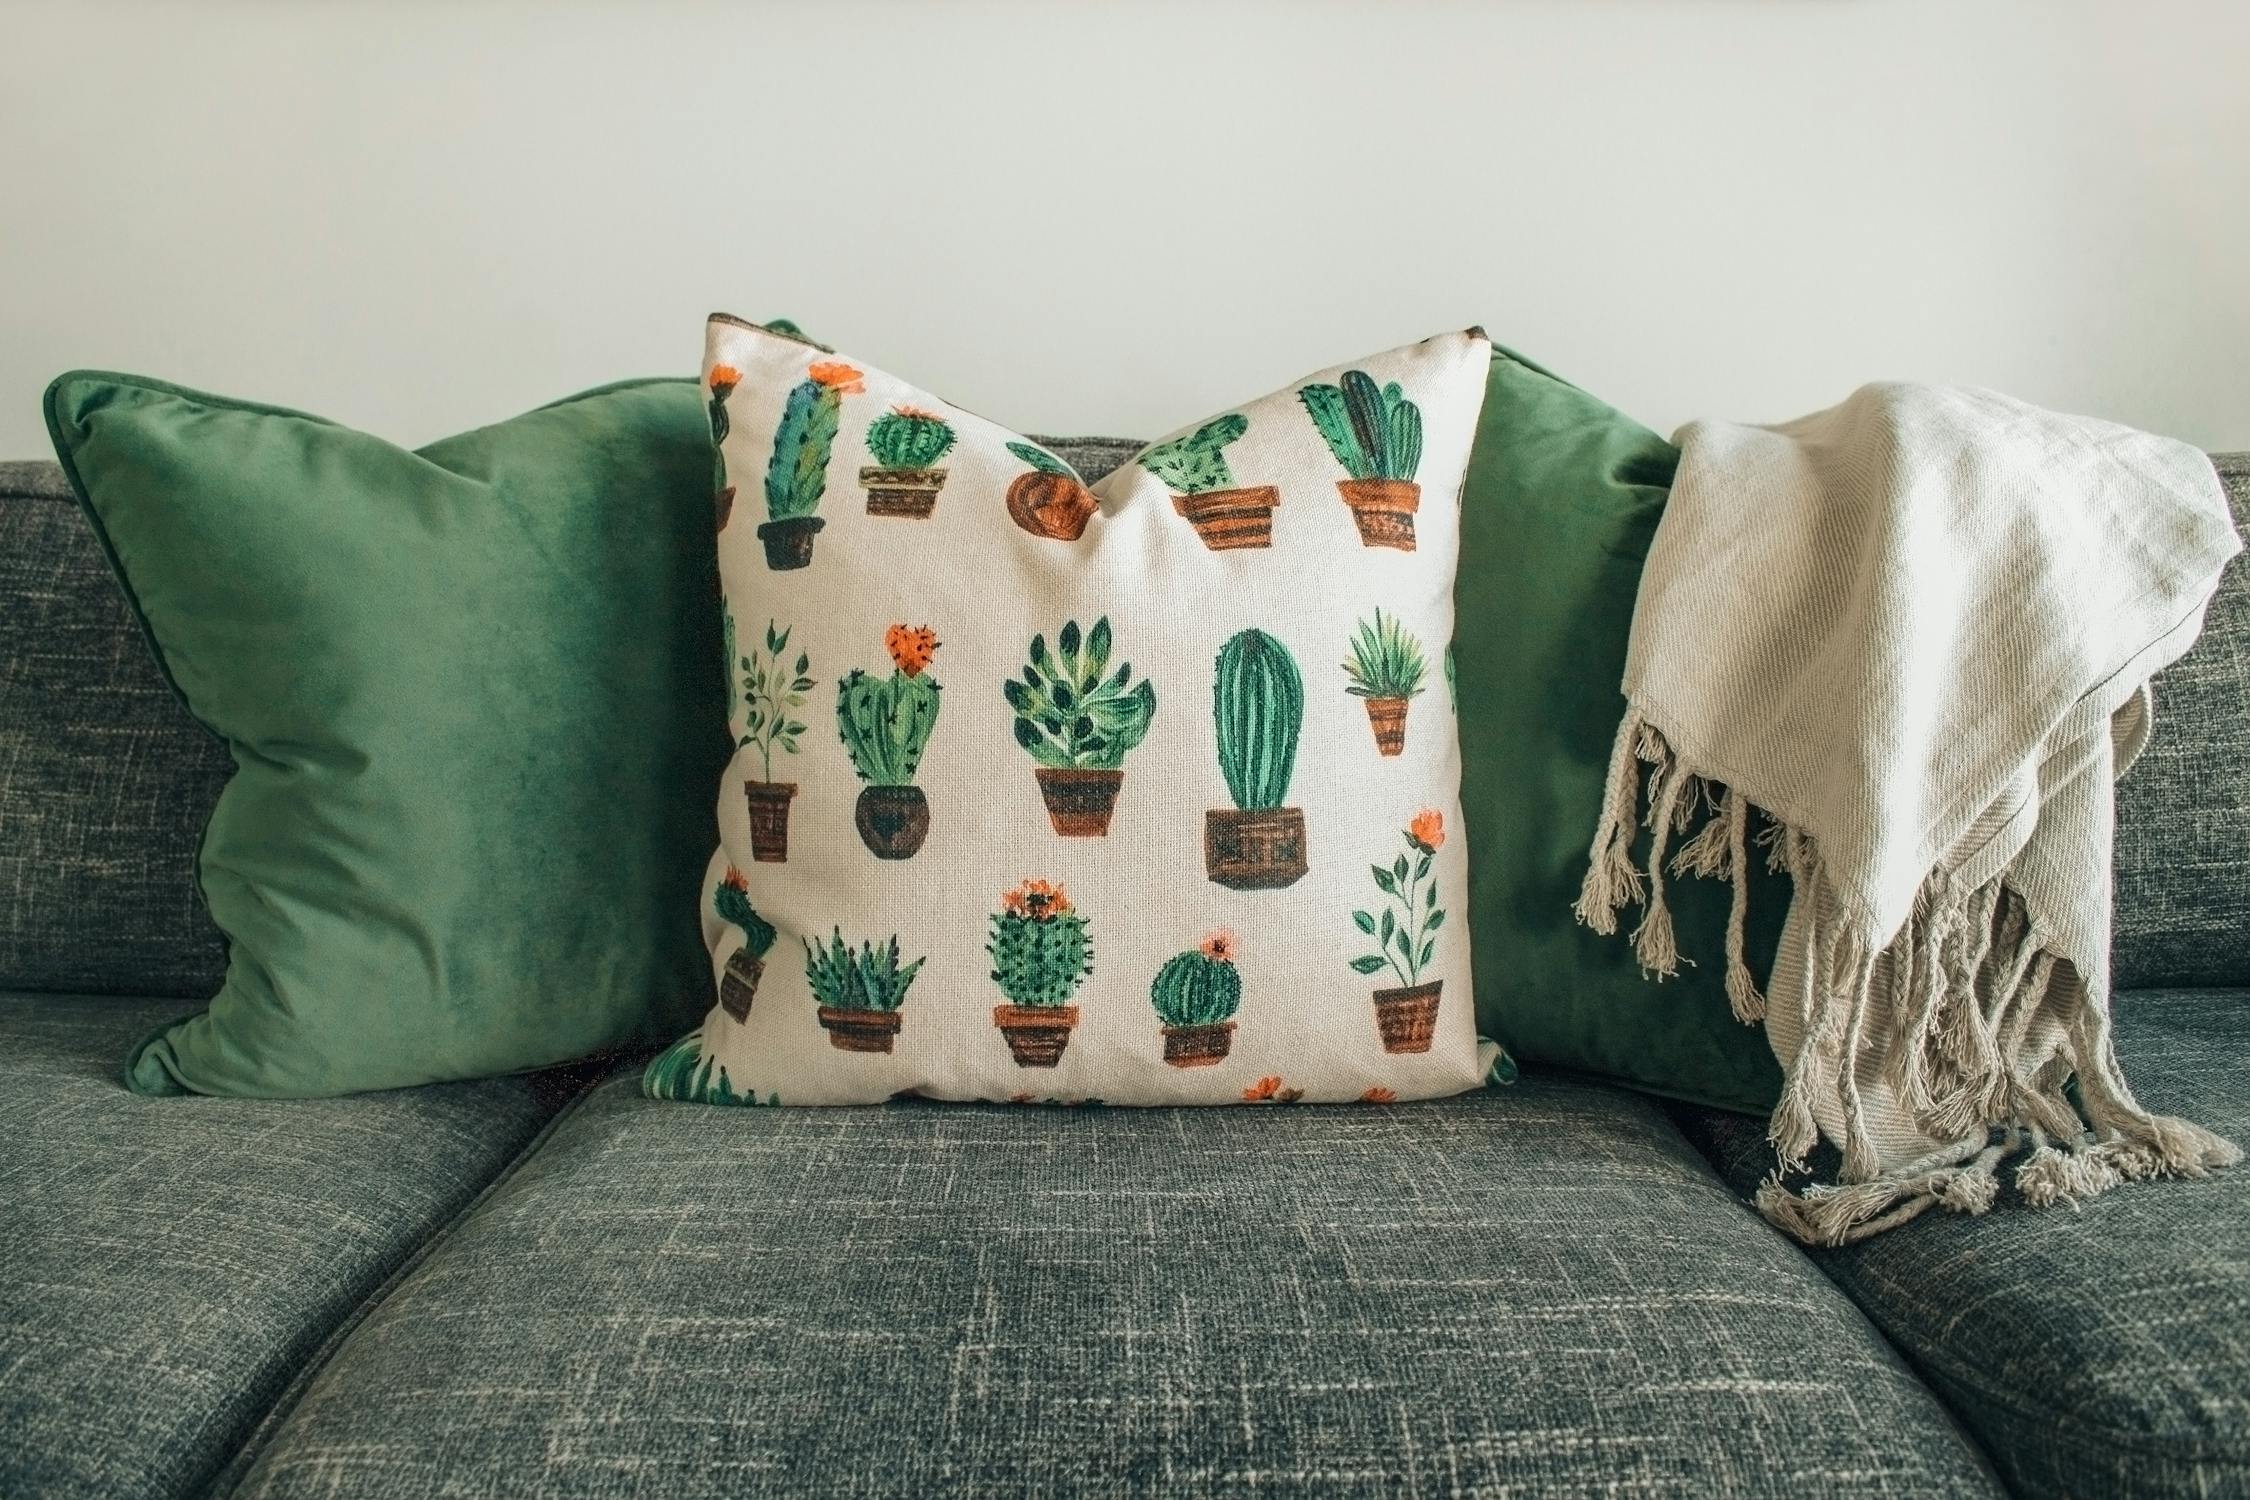
Materials Needed:
-
Fabric (½ to 1 yard per pillow)
-
Scissors
-
Sewing machine or needle & thread
-
Pillow inserts
-
Decorative embellishments (optional)
6. Decorate with Indoor Plants
Plants purify the air and add life to any room. Low-maintenance options like snake plants, pothos, or succulents are perfect for beginners. Place them in decorative pots—ceramic, woven baskets, or hanging planters.
Group plants of varying heights for visual interest. Use a tray to corral small pots for a cohesive look.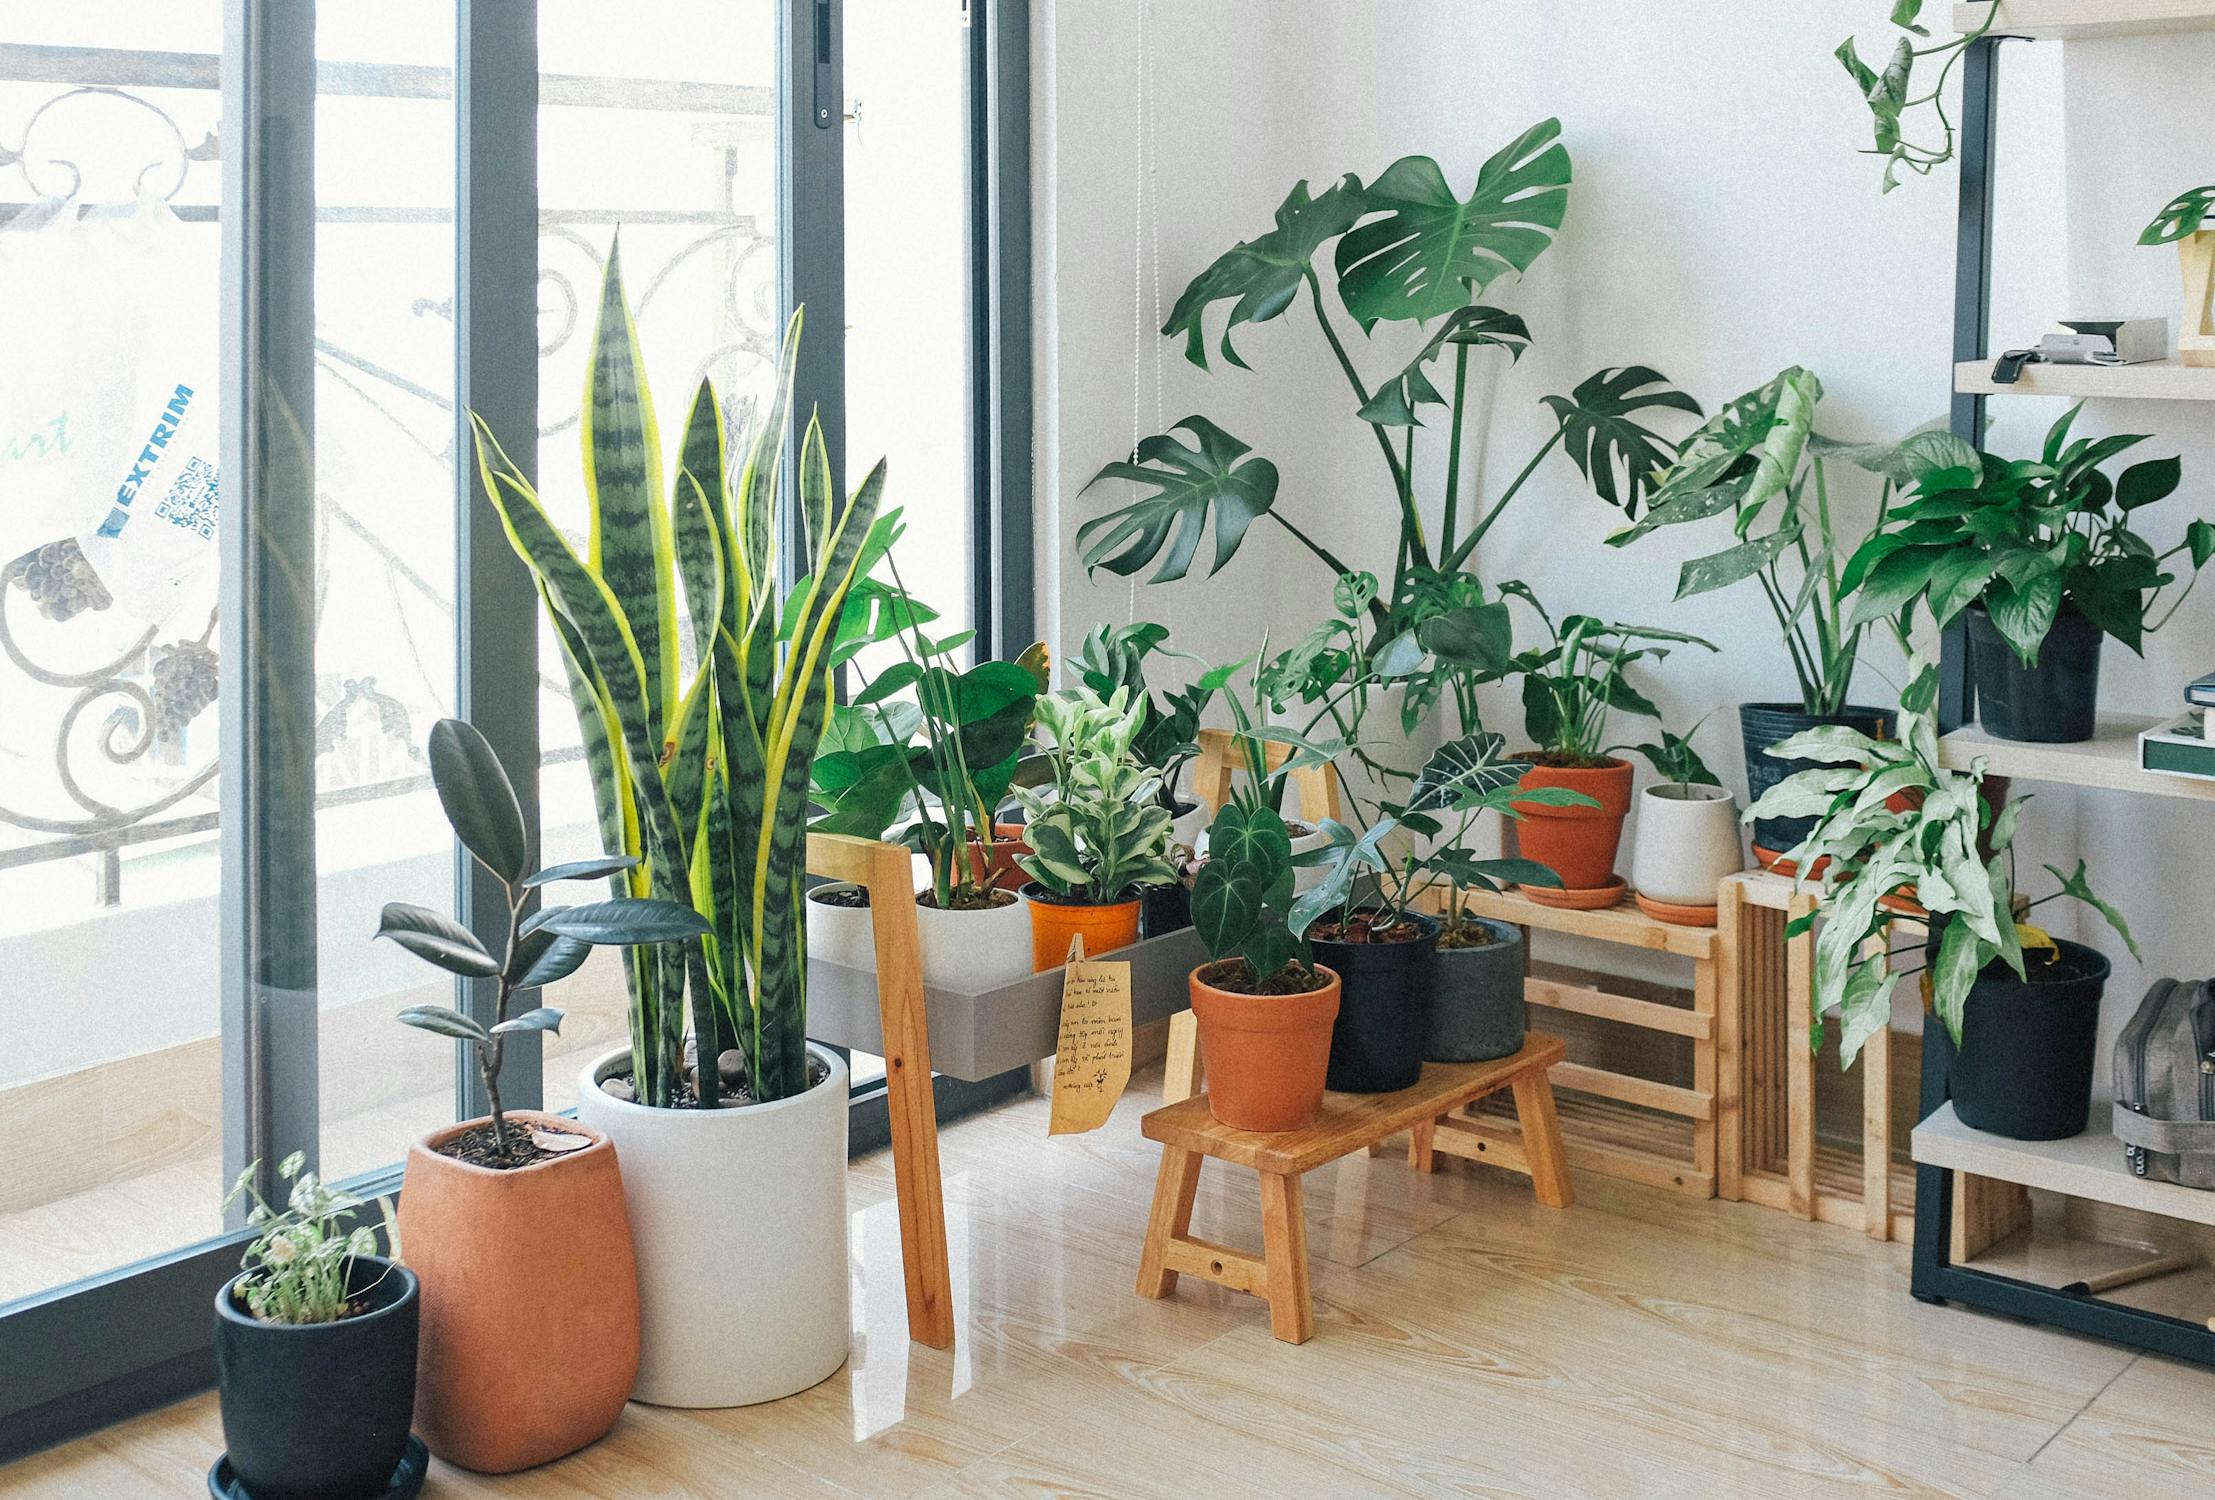
Materials Needed:
-
Indoor plants
-
Decorative pots (with drainage)
-
Potting soil
-
Pebbles (for drainage)
-
Small watering can
7. DIY Wall Art with Washi Tape
Washi tape is an easy, removable way to create wall art. Try geometric shapes, frames, or abstract lines. Since it peels off cleanly, you can change designs anytime.
For a bold look, use contrasting colors. For subtlety, stick to neutral tones.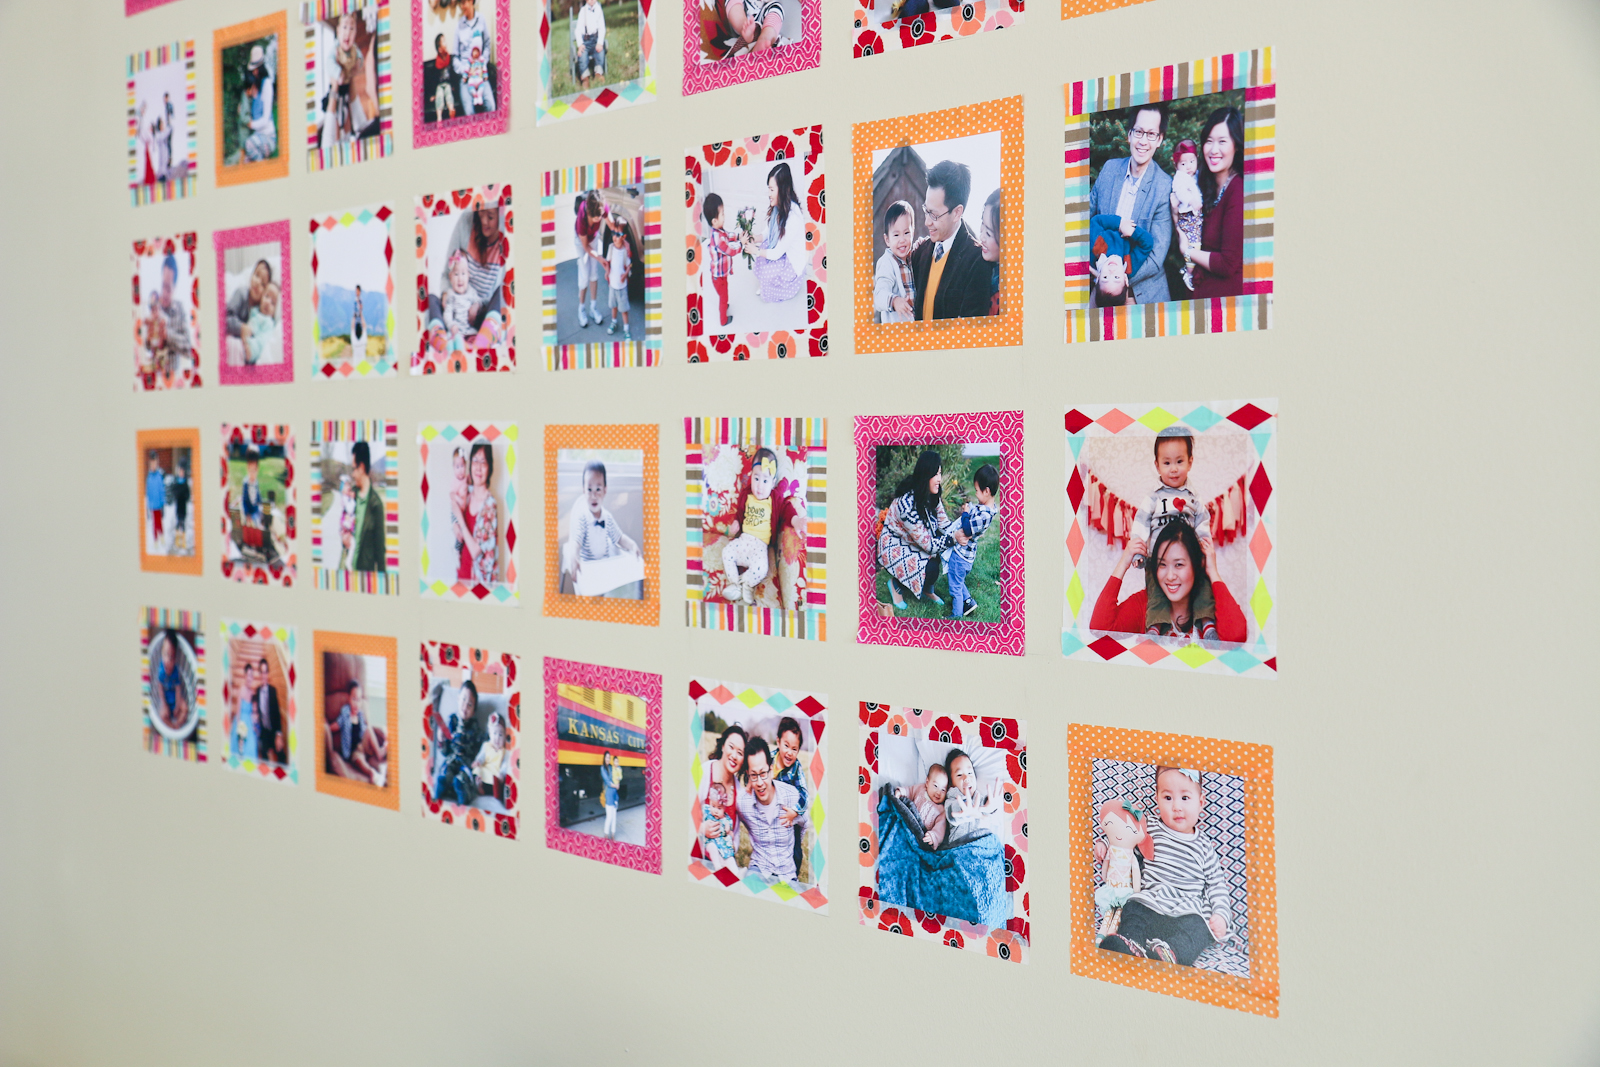
Materials Needed:
-
Washi tape (multiple colors/patterns)
-
Scissors
-
Ruler (for straight lines)
8. Repurpose Old Jars & Bottles
Turn glass jars into candle holders, vases, or storage containers. Paint them with frosted glass paint or wrap them in twine for a rustic look. Add fairy lights for a cozy glow.
Materials Needed: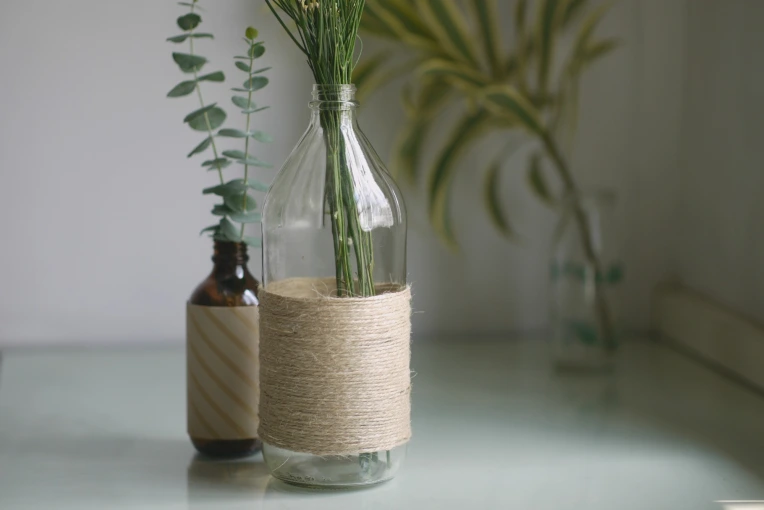
-
Glass jars or bottles
-
Acrylic paint or Mod Podge
-
Twine or ribbon
-
Tea lights or fairy lights
9. Add a DIY Backsplash
Peel-and-stick tiles make kitchen or bathroom upgrades easy. Measure the space, cut tiles to fit, and press them on. They’re removable, so you can change them later.
Materials Needed:
-
Peel-and-stick tiles
-
Scissors or utility knife
-
Measuring tape
-
Level
10. Customize a Rug with Stencils
Transform a plain rug with fabric paint and stencils. Tape the stencil in place, apply paint in thin layers, and let it dry completely before use.
Materials Needed: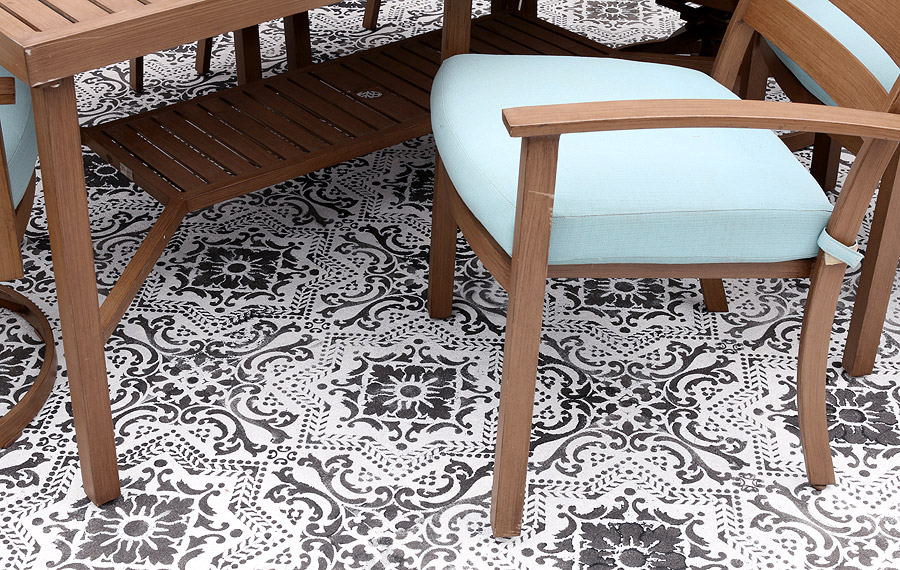
-
Plain rug (light-colored)
-
Fabric paint
-
Stencil
-
Paintbrush or sponge
-
Painter’s tape